The One Thing Pro Makeup Artists Do That You've Never Thought About
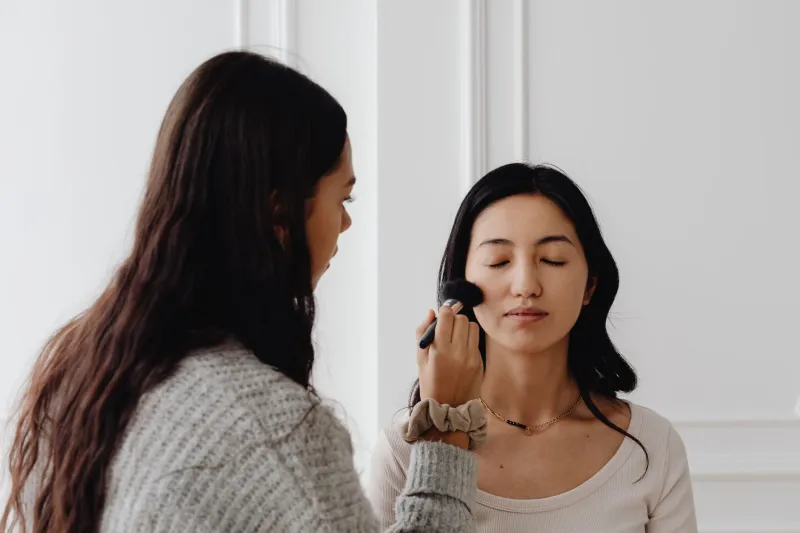
You've watched the tutorials. You've bought the brushes. You've practiced your blending until your arm ached. And yet somehow, the makeup that looked perfect in your bathroom mirror looked completely off by the time you got to the office — or worse, to the event you'd been getting ready for.
This isn't a skill issue. It's a lighting issue. And it's the thing professional makeup artists quietly factor in before they touch a single product.
Why Lighting Is the Invisible Ingredient in Every Makeup Look
Here's the part most beauty tutorials skip entirely: makeup doesn't exist in a vacuum. It exists in light. And different types of light don't just change how your makeup looks — they change how your skin tone reads, whether your highlight appears luminous or chalky, and whether your foundation shade looks like a match or a mask.
Pro makeup artists — the ones working on editorial shoots, red carpet events, and film sets — obsess over lighting not because they're technically minded, but because they've learned the hard way what happens when you don't. A foundation that looks seamless under warm studio lights can look orange and cakey under the cool fluorescent lighting of an office building. A highlight that looks ethereal in natural daylight can disappear entirely under yellow incandescent bulbs.
Understanding light temperature is how they stay ahead of that problem.
Warm vs. Cool Light: The Basics You Need
Light temperature is measured in Kelvin (K), and it affects color perception dramatically.
Warm light (think: candlelight, incandescent bulbs, golden hour sunlight) has a yellow-orange cast. It flatters most skin tones, softens the appearance of imperfections, and makes warm-toned products look especially good. The downside? It can make it harder to see where your foundation ends and your neck begins, and it tends to wash out cool-toned features.
Cool light (fluorescent office lighting, overcast daylight, blue-tinted LED) is harsher and more revealing. It highlights texture, shows unblended edges, and tends to make warm-toned products look muddy or orange.
Neutral or daylight-balanced light (around 5000–5500K) is what professional makeup artists consider the gold standard for application. It's closest to natural midday daylight and gives you the most accurate read on color, blending, and finish.
Most bathroom lighting is nowhere near neutral. That's the root of the problem.
What Your Bathroom Mirror Is Lying to You About
The average bathroom uses warm incandescent or warm LED bulbs, often positioned above or behind the mirror. This combination creates two problems: the warm color cast flatters your skin (making everything look more even and glowy than it actually is) and the overhead positioning creates downward shadows that obscure texture and unevenness.
You walk out looking — in your bathroom — like you nailed it. Then you hit daylight and suddenly your contour looks like a muddy stripe and your under-eye concealer is visibly sitting on top of your skin.
Makeup artists on set don't apply makeup under the final lighting conditions accidentally. They do it intentionally, because applying under accurate light forces you to blend more thoroughly, choose shades more carefully, and build product more strategically.
The Lighting Setup That Changes Everything
You don't need a Hollywood vanity to fix this. You need one thing: a light source in front of your face, not above it, with a color temperature close to daylight.
Here's the practical version:
Option 1: A lighted vanity mirror. Look for one with adjustable color settings and choose a "daylight" or "cool white" mode (around 5000–6000K) for application. These are widely available and genuinely life-changing for $40–$100.
Option 2: A ring light with adjustable temperature. Ring lights designed for content creators are actually ideal for makeup application — they provide even, diffused frontal light that eliminates shadows. Again, use the cooler settings when applying, not the warm ones.
Option 3: Natural window light. If you have a window that gets good indirect daylight (not direct sun, which is too harsh and directional), positioning yourself facing it is one of the best free options available. This is exactly what makeup artists do on location shoots when they don't have controlled lighting.
How Lighting Should Change Your Product Choices
Once you start applying in better light, you'll notice something: your instinct for shade selection changes. Foundations you thought were a match might look slightly off. Highlights that seemed subtle might read as intense.
That's the system working correctly. Here's how to use it:
For foundation and concealer: Apply in daylight-balanced light, then check your work under the lighting conditions you'll actually be in. If you know you're heading into a warm-lit restaurant or office, you can afford slightly cooler-toned products — the warm light will balance them out. If you'll be in harsh fluorescent environments, stay closer to your true match and go lighter on warmth-adding products.
For highlight and luminizing products: Cool, pearlescent highlights tend to disappear under warm light and pop under cool or natural light. Gold and warm-toned highlights do the opposite — they shine under warm light and can look flat under cool. Matching your highlight tone to your environment is a pro move most people never make.
For contour and bronzer: Warm light is forgiving, so heavy contouring that looks natural in your bathroom can look very obvious in daylight. If you're applying under warm light, err on the side of less product than you think you need.
The Quick Trick Before You Leave the House
Makeup artists who work on-location have a habit of doing a final check in multiple light sources before calling a look done. You can do a version of this in under a minute.
After applying your makeup, take a photo in natural light — near a window, or step outside for thirty seconds. The camera in daylight is one of the most revealing lighting conditions you can use, and it'll show you what a neutral observer would actually see. If something looks off, you have time to fix it. If everything looks good, you can leave with actual confidence.
This is the habit that separates people who consistently look polished from people who can't figure out why their makeup never quite translates. It's not about buying better products. It's about understanding the environment those products are going to live in — and preparing accordingly.